
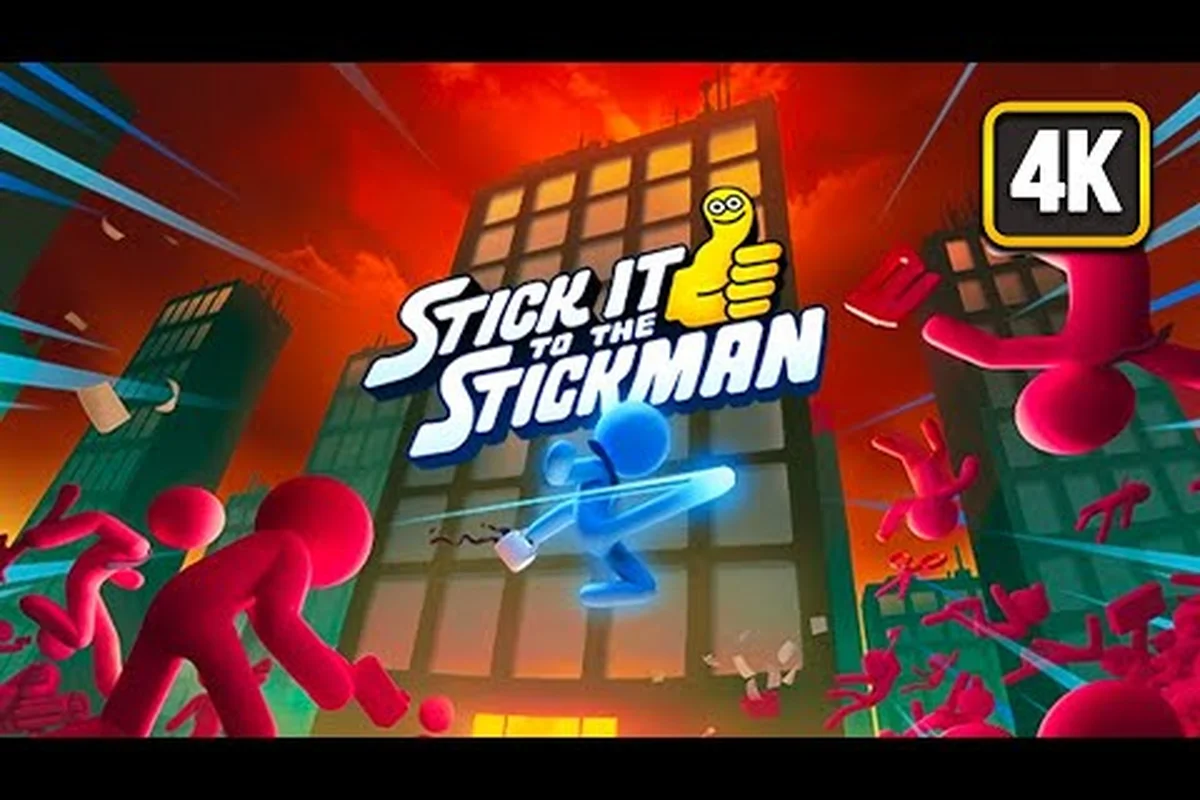
Climbing from unpaid intern to corner office in this corporate satire brawler means clearing every department head in sequence, and the complete stick it to the stickman all bosses list runs deeper than most first-time players expect. Each floor manager caps a self-contained office wing, and every chief-level executive layers a new environmental hazard on top of the standard boss moveset. Players chasing the Billionaire Bunker ending or the rooftop CEO showdown need a reliable reference for the Floor Manager through The Founder pipeline, including the chainsaw-wielding Chief Security Officer, the mop-and-bucket rampage of the Head of Sanitation, and the more obscure assistants hiding in cubicle farms.
This boss guide condenses community-verified attack patterns, counter windows, and recommended build pivots into one structured document so you can plan loadouts before stepping into each arena. Whether you are a Caffeine Addict speedrunner or a slow, methodical Ego Maniac brawler, the department head progression rewards preparation, and the data below reflects the 1.0 launch tuning as verified on the Stick It to the Stickman Steam page.
Department Head Progression Overview
Every run in the Corporate Ladder mode places you on a randomized floor map with one mandatory executive encounter before the elevator clears to the next tier. The game separates these encounters into two structural tiers: Floor Managers (junior executives who gate floor 1 through floor 6) and Chief Officers (mid-game department heads who cap wings from floor 7 onward). The final two encounters — the rooftop CEO helicopter duel and the underground The Founder vault — operate as chained boss events with overlapping arena hazards.
According to the official Devolver Digital publisher hub, the 1.0 release introduced the Billionaire Bunker mode that reorders the same department head roster with new modifiers, meaning the encounter list itself stays consistent while arena conditions change between modes. That distinction matters for players optimizing loadouts, because a build that trivializes the Floor Manager in the Corporate Ladder can feel punishing in the bunker variant where fire hazards and electrified floors replace the office cubicles.
| Tier | Encounter Type | Count | Arena Modifier | Key Reward |
|---|---|---|---|---|
| Floor 1–2 | Assistant-level executives | 2 | Open-plan cubicles | Shareholder Value boost |
| Floor 3–4 | Floor Manager fights | 2 | Cubicle maze walls | Coffee buff drop |
| Floor 5–6 | Mid-department chiefs | 2 | Kitchen / mailroom hazards | Tier 2 perk unlock |
| Floor 7–8 | Senior Chief Officers | 2 | Rooftop / warehouse | Tier 3 evolution slot |
| Floor 9 (Final) | Chained CEO + Founder | 2 chained | Helipad + vault | Ending cinematic |
The roster above reflects what community testers have mapped in the r/Stickittothestickman repository as of the 1.0 launch window, though exact floor placement still varies by run seed. Players who want a deeper breakdown of pacing and elevator clearance mechanics should consult the how to beat bosses strategy guide for context on the systems layered into each encounter.
The Floor Manager Encounter
The Floor Manager is the first true roadblock most runs hit, and stick it to the stickman floor manager boss fight tactics revolve around three core attacks: a clipboard overhead slam, a motivational speech charge that grants hyper-armor, and a desperate stapler volley when reduced below 30% health. The arena is a rectangular open-plan cubicle with breakable partition walls that you can use for line-of-sight breaks between the slam and the charge.
According to community data gathered on the Free Lives Discord, the optimal opening is to bait the slam animation (roughly 1.2 seconds of wind-up), dodge-roll through the cubicle gap on your right, and punish with two Flying Kick hits before resetting distance. The hyper-armor charge ignores stagger, so attempting to trade damage during that window is a losing trade unless you are running the Titanium Cranium perk which gives you 0.5 seconds of invulnerability on a perfectly timed headbutt.
| Floor Manager Phase | Health Threshold | Primary Attack | Counter Window | Recommended Punish |
|---|---|---|---|---|
| Phase 1 | 100%–70% | Clipboard overhead slam | 0.4s after wind-up | Flying Kick x2 |
| Phase 1 | 100%–70% | Motivational speech charge | Dash sideways at charge start | Chainsaw Slash x1 |
| Phase 2 | 70%–30% | Cubicle throw projectile | Reflect with kick | Groin Strike x3 |
| Phase 2 | 70%–30% | Hyper-armor shoulder bash | Only dodgable, not interruptible | Retreat, then re-engage |
| Phase 3 | Below 30% | Stapler volley (5 rapid) | Roll between each stapler | Coffee Overdrive burst |
A common rookie mistake is to camp the corner of the arena because the partition walls feel safe, but the Floor Manager has a hidden aggression ramp that forces him to leap across the cubicle maze if you hold distance for more than four seconds. The leap deals heavy knockback and chains into the slam, so mid-range aggression is the correct posture from the opening bell.
Recommended Loadout for the Floor Manager
Builds that emphasize mobility outperform tank setups on this fight because the boss's aggression ramp punishes passive play. The Caffeine Addict archetype synergizes with a Tier 1 Espresso Shot cooldown reduction perk and a Tier 2 Double Jump unlock, letting you bounce over the leap and land a Sweep Kick behind the boss. Players who prefer raw damage should pivot to the Ego Maniac archetype with Hyper-Armor headbutt, though the archetype's slower mobility makes Phase 3 stapler volleys considerably harder to dodge.
Early-Department Chief Encounters
The early-chief tier covers the Assistant Security Officer and the Accounting Boss (sometimes labeled the Chief Accounting Officer in older patch notes), both of whom appear on floors 3 and 4 in randomized order. Stick it to the stickman how to beat assistant security officer guidance is consistent across the community: this fight rewards patience, because the officer carries a stun baton that applies a 1.5-second paralysis on a clean hit, and the arena is littered with security camera turrets that activate in waves of two at the 50% and 25% health thresholds.
The accounting boss is a slower bruiser-type encounter that leans on summoned cubicle drones and a wide-area spreadsheet slam. According to players on the subreddit, the safest clear is to prioritize the drones first because they apply a stacking accuracy debuff that persists between phases, and the boss's slam telegraph is the longest in the game at roughly 1.8 seconds — making him the easiest chief to learn timing on.
| Early Chief | Phase 1 Attack | Phase 2 Trigger | Environmental Hazard | Counter Tip |
|---|---|---|---|---|
| Assistant Security Officer | Stun baton combo (3-hit) | 50% HP — activates turret pair | Electrified floor panels | Bait turret shots, then punish during reload |
| Accounting Boss | Spreadsheet overhead slam | 40% HP — summons 3 drones | Paper shredder floor vents | Clear drones in Phase 2 to remove debuff stacks |
| Chief Catering Officer | Frying pan projectile | 60% HP — ignites floor grease | Flaming stovetop corners | Stay mid-arena, roll diagonally |
The third early-chief variant, the Chief Catering Officer, appears in roughly one of three runs and brings a fire-themed moveset that pairs badly with the Smoke Form perk because the lingering flames ignore invulnerability frames. Community consensus on the Discord is to bring the Metal Arms perk instead, which gives you projectile reflection during the dash and lets you bounce the frying pan back into the boss's face for bonus damage.
Mid-Game Department Head Fights
The mid-game tier is where the difficulty curve sharpens, and the stick it to the stickman chief security officer boss encounter is widely considered the first skill check in the roster. The chief carries a heavy shotgun that fires a three-pellet spread and a chain-wrapped baton that applies a Cripple debuff, slowing your dodge-roll speed by 40% for three seconds. The arena is a warehouse loading dock with forklift hazards that activate on a 20-second cycle, so positioning matters as much as damage output.
Players who want a comprehensive breakdown of the chief's full moveset should read the boss attack patterns reference, which documents the per-frame animation data the community has reverse-engineered from the 1.0 build. The short version is that the chief opens with a baton charge, follows up with a shotgun blast at mid-range, and transitions into a chainsaw sprint at sub-30% HP that ignores terrain obstacles.
| Mid-Game Chief | Signature Attack | Frame Data | Best Counter | Arena Hazard |
|---|---|---|---|---|
| Chief Security Officer | Shotgun spread (3 pellets) | 18-frame wind-up | Smoke Form + backdash | Forklift sweep at 20s cycle |
| Chief Security Officer | Baton charge (3-hit combo) | 12-frame start-up | Dodge back on hit 2, punish on hit 3 | — |
| Chief Security Officer | Chainsaw sprint (sub-30% HP) | Charge tracks player position | Use cubicle cover, then flank | — |
| Head of Sanitation | Mop-and-bucket swing (180°) | 14-frame wind-up | Jump over swing arc | Slippery soap puddles |
| Head of Sanitation | Bleach grenade throw | Arc trajectory, 2s fuse | Kick grenade back mid-arc | — |
The other defining mid-game encounter is the stick it to the stickman head of sanitation boss guide encounter, where the boss drags a wheeled mop bucket across the arena and leaves soap puddles that slow you for 1.2 seconds on contact. The stick it to the stickman cleaning boss attack patterns include a wide mop swing, a bleach grenade arc, and a desperation bucket-flip that launches the cart itself as a projectile. The recommended clear is to stay near the dry corners of the arena, bait the grenade arc, kick it back at the boss for massive damage, and only commit to melee during the 1.5-second recovery after the mop swing.
Defensive Perk Tier List for Mid-Game Bosses
Players tackling the mid-game department heads benefit from defensive perks that cover the arena hazards more than from raw damage perks, because most of these fights run long enough that one missed dodge can snowball into a full combo lock.
-
Smoke Form — 0.8-second invulnerability on activation, resets the Cripple debuff from the chief's baton
-
Titanium Cranium — 0.5-second headbutt invulnerability, lets you trade through the chainsaw sprint
-
Metal Arms — projectile reflection on dash, trivializes the Head of Sanitation grenade arc
-
Coffee Overdrive — burst damage window, best saved for the sub-30% HP phase transition
The trade-off for stacking defensive perks is that your damage output drops, which extends fight length and exposes you to more arena hazard cycles. Most community-tested runs settle on two defensive perks and one damage perk for the mid-game tier, and then respec into a full damage setup for the late-game chief encounters.
Late-Game Chief Encounters
The late-game tier introduces the Chief Gyming Officer, the Head of Espionage, and the Wrestler Employee boss, all of whom are classified as hyper-armor bruisers with grab mechanics that bypass standard dodge rolls. The stick it to the stickman assistant gym master boss encounter in particular is a recurring pain point for newer players, because the gym master uses a suplex that deals 40% of your max HP on a clean grab, and the arena has spring-loaded exercise equipment that launches you into the air if you get hit into it.
| Late-Game Chief | Grab Mechanic | Hyper-Armor Window | Recommended Counter | Unlock Requirement |
|---|---|---|---|---|
| Chief Gyming Officer | Suplex (40% HP damage) | 1.2s | Break line-of-sight with dumbbell prop | None |
| Head of Espionage | Cloak-dash stab | 0.8s | Use Coffee Overdrive heat signature | Beat gym master first |
| Wrestler Employee | Piledriver | 1.5s | Stay airborne, punish landing recovery | Beat head of espionage first |
| Intern Boss (cage fight) | Coffee cup throw | 0.6s | Reflect with Metal Arms | Chained CEO trigger |
According to the assistant gym master boss reference, the recommended opening against the gym master is to bait the dumbbell overhead swing, then use the rebound momentum to jump over the suplex wind-up. The arena props — kettlebells, exercise mats, a punching bag chain — are all destructible, and breaking them rewards temporary speed boosts that stack with the Caffeine Addict archetype passive.
The full late-game chief tier is detailed in the assistant gym master boss deep dive, which includes frame data for each hyper-armor window and recommended perk combinations for the Ego Maniac archetype. The general principle is that late-game bruisers punish the same defensive perk stacks that trivialize mid-game fights, so most players respec into the Smoke Form + Metal Arms combo and rely on the smoke invulnerability to dodge the grab wind-ups.
Late-Game Chained Boss: The CEO and The Founder
The final two encounters are chained, meaning you cannot rest or respec between them, and the entire run's Shareholder Value carries over as a permanent HP modifier for the second fight. The first chained boss is the CEO on the rooftop helipad, who pilots an attack helicopter that hovers above the arena and rains down a minigun barrage while occasionally landing to melee with a golden keyboard. The chained encounter is The Founder in the underground doomsday vault, a billionaire parody boss with a laser cane and a mecha-suit second phase.
For the full chained encounter walkthrough — including the starbucks cage fight transition between the two phases — the chained boss strategies guide provides a frame-by-frame breakdown. The short version is that you need to land the helicopter during its minigun cooldown (roughly 3 seconds) and trigger the cage-fight cutscene, then manage the vault's three laser traps while whittling down The Founder's mecha-suit armor before the final phase.
| Chained Boss Phase | Primary Attack | Counter Strategy | HP Threshold |
|---|---|---|---|
| CEO — Helicopter | Minigun barrage | Hide behind AC unit during sweep | 100%–60% |
| CEO — Landing melee | Golden keyboard slam | Parry with Coffee Overdrive | 60%–30% |
| CEO — Final phase | Rocket launcher | Double-jump + diagonal roll | 30%–0% |
| The Founder — Cane phase | Laser cane sweep | Bait the sweep, punish the recovery | 100%–50% |
| The Founder — Mecha phase | Chest laser + fist slam | Stay under the mecha for cover | 50%–0% |
The most consistent community-tested build for the chained encounter is a Caffeine Addict main with Smoke Form and Metal Arms perks, plus a Tier 3 Chainsaw Slash evolution that melts the helicopter's armor during the landing melee window. Speedrunners tend to swap the chainsaw for a Tier 3 Flying Kick because the kick's vertical knockback interrupts the rocket launcher wind-up, which is otherwise the deadliest single attack in the entire boss roster.
Ending Triggers and Secret Conditions
Defeating The Founder in the standard sequence unlocks the corporate ending cinematic, but two secret endings require additional setup. The Doomsday Ending triggers if your Shareholder Value at the time of the mecha-suit kill exceeds 50,000, which causes the vault to self-destruct after the boss is defeated. The Golden Parachute Ending triggers if you complete the Billionaire Bunker mode with the Head of Sanitation as your final boss, which is a rare seed condition that roughly 1 in 30 bunker runs produce, according to community data shared on the subreddit.
Players hunting the achievement roadmap should note that the 1.0 release added a Secret Intern encounter hidden in the floor 2 cubicle maze that only spawns if you skip the floor manager's slam attack three times in a row, which is more of a novelty than a difficulty check but contributes to the 100% completion tracker.
Frequently Asked Questions
How many bosses are in the stick it to the stickman all bosses list?
The full department head roster includes 12 distinct encounters across the Corporate Ladder and Billionaire Bunker modes. Eight serve as mid-game department chiefs with randomized floor placement, and the remaining four are fixed late-game fights including the gym master, head of espionage, CEO, and The Founder. The intern boss and secret intern encounter are bonus fights that do not gate progression but contribute to the 100% completion tracker.
What is the hardest boss in the 1.0 roster?
According to community data aggregated on the Free Lives Discord, the Chief Security Officer is the most consistent wall for new players, while The Founder in chained-boss mode is the hardest overall because you cannot rest between phases and the mecha-suit laser has a frame-perfect dodge window. Speedrunners consistently rate the Head of Sanitation grenade arc as the most punishing single attack because the throw arc is difficult to read until you have fought the boss at least five times.
Which archetype is best for the boss roster?
The Caffeine Addict archetype is the safest pick for players learning the full boss list because the speed and cooldown bonuses reduce the time you spend in danger windows. The Ego Maniac archetype is the highest damage ceiling for players who have mastered hyper-armor trades, but the archetype's lower mobility makes the Head of Sanitation soap puddles considerably more dangerous. For a deeper breakdown of every playable archetype, the archetypes list reference covers unlock requirements and passive ability data.
Can I respec perks between boss fights?
Yes, but only at the elevator between floors, and the respec costs Shareholder Value that scales with your current floor. The first three respecs per run are free, which gives you enough flexibility to swap from a defensive mid-game loadout into a damage-focused late-game build without economy loss. After the third respec, each swap costs 500 Shareholder Value, so most players commit to their final build by floor 6 and stop adjusting for the chained boss phase.