
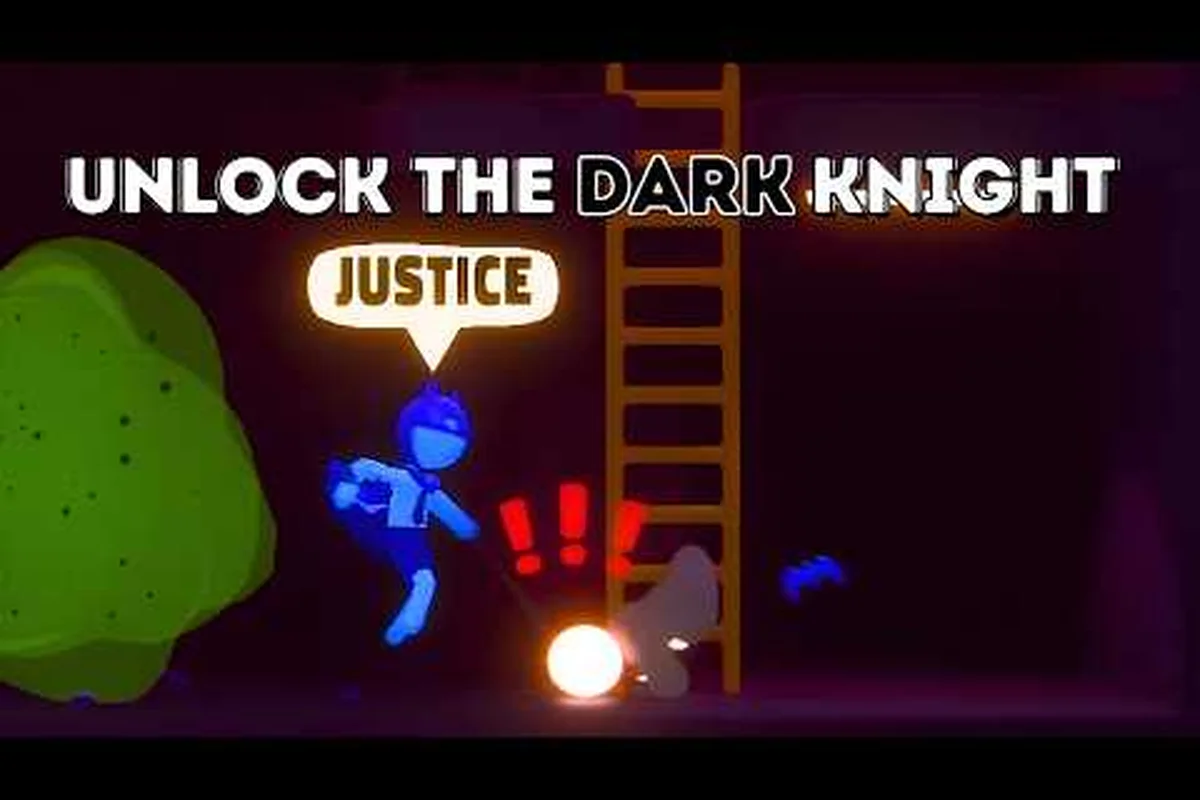
Welcome to the Stick It to the Stickman beginner guide, your no-fluff walkthrough to surviving the opening hours of Free Lives' ragdoll brawler and pushing past the first few office floors. The 1.0 launch dropped on Steam in late September 2026, and new interns keep wiping out in the lobby because they mash buttons instead of learning the combat loop, perk system, and promotion mechanics. This primer arms you with the combat basics, upgrade priorities, and survival habits you need before you ever step on the elevator.
According to the official Stick It to the Stickman Steam page, the game ships with 9+ worker archetypes, 100+ combat moves, 3-tier upgrade evolutions, and a sprawling corporate ladder waiting between you and the CEO. That sounds like a lot, but the first dozen floors only demand a handful of core skills. Once those click, the rest of the office is yours to dismantle.
Getting Started: Controls, Menus, and Your First Run
Before you can climb anything, you need to understand what the game actually throws at you. Stick It to the Stickman how to play questions all start in the same place: the main menu, archetype select, and that terrifying first elevator ride up. Take five minutes to poke around the menus before launching your first run, because the choices you make here echo through the entire run.
Core Controls and Combat Basics
Combat runs on a single thumbstick, two attack buttons, a dodge, and a grab. Light attacks chain into heavier follow-ups if you keep the input pressure going, while heavy attacks launch enemies and ragdoll them across cubicle walls. Dodging costs stamina but refunds a small chunk on a successful dodge, so staying mobile is rewarded over standing still and trading hits. The grab button is your best friend: it lets you pick up chairs, fire extinguishers, staplers, and even stunned coworkers to use as improvised weapons.
The stamina bar governs everything — dodges, blocks, and heavy attacks all draw from it. New players instinctively burn stamina on flashy moves and then have nothing left when a wave spawns behind them. The first habit to drill is stamina discipline: spend on a single committed attack string, then recover while repositioning.
| Input | Action | Stamina Cost | Beginner Tip |
|---|---|---|---|
| Light Attack | Quick jab, chains into combos | Low | Safe opener for learning enemy windups |
| Heavy Attack | Launching strike, high ragdoll | Medium-High | Save for grouped enemies or aerial finishers |
| Dodge | I-frame roll, refunds a bit on success | Medium | Dodge into a swing to bait counters |
| Grab | Pick up props or stunned foes | Low | Always grab a chair on every fresh floor |
| Special | Archetype ultimate, map-clearing potential | Very High | Hold for boss intros, never spam in hallways |
Reading the Office Floor Layout
Every floor follows a predictable skeleton: an entry hallway, one or two combat rooms packed with desks, a break-room mini-event, and an elevator exit guarded by a mini-boss or elite clerk. Memorize this rhythm and the game suddenly feels less random. The break rooms are particularly important because they always contain one free perk pickup, a coffee machine for a temporary buff, or a vending machine you can punt at a coworker's head for a guaranteed ragdoll knockdown.
The elevator is your checkpoint and your score gate. Reaching it without dying clears the floor; reaching it with high momentum stacks a Promotion Multiplier that carries over to the next run. Momentum is the single most important currency early on because it gates how many perks you can pick on each floor, and the difficulty curve from floor 4 onward assumes you have at least two or three active buffs.
| Floor Range | Layout | Threat Level | Recommended Focus |
|---|---|---|---|
| Floors 1-3 | Single room, 3-5 clerks | Low | Learn the dodge timing and grab system |
| Floors 4-6 | Two rooms, 6-8 clerks, one elite | Medium | Stack a damage perk, pick a coffee buff |
| Floors 7-9 | Three rooms, 8-12 clerks, trap hazards | High | Upgrade at least one Tier 2 move |
| Floors 10+ | Boss floors, environmental hazards | Very High | Maintain full health and a stocked stamina bar |
The Corporate Ladder Walkthrough: Your First Promotion Path
The Stick It to the Stickman corporate ladder walkthrough isn't a linear story path — it's a procedural climb where each run carves a slightly different route up the building. Your goal across runs is to unlock permanent archetype abilities, earn career milestone rewards, and push deeper into the high-rise. Every promotion tier unlocks a new archetype, a new perk tier in the upgrade shop, and a small chunk of meta-progression currency.
Understanding the Promotion Multiplier
Momentum is the score attached to how cleanly you clear floors. Clearing a room without taking damage, finishing a mini-boss under the time limit, and pulling off environmental kills (slamming a clerk into the office printer) all stack onto the same multiplier. When you reach the elevator, that multiplier translates into Career Points you can spend in the meta-progression shop between runs.
The shop is the single biggest reason new players hit a wall. Spending points on the wrong archetype unlock means you delay the perks you actually need to survive the mid-game spike. As a rule, prioritize Stamina Recovery and Health Regeneration perks before anything flashy. Those two stats compound across every run and make the boss floors dramatically easier.
| Meta Upgrade | Effect | Cost (Early) | Best For |
|---|---|---|---|
| Stamina Recovery | Faster stamina refill between fights | Low | Every archetype, every run |
| Health Regen | Passive HP recovery per floor clear | Low | Solo beginners, no-heal challenge runs |
| Archetype Unlock | New worker class with unique moveset | Medium | Players who found a style they enjoy |
| Cosmetic Pack | Visual variants, no gameplay effect | High | Players who already cleared the CEO |
| Bonus Perk Slot | One extra perk choice per floor | High | High-momentum runners, optimized builds |
The First Three Floors: A Minute-by-Minute Plan
Floor 1 is a tutorial disguised as a coffee run. You'll fight two interns, a stapler, and one slightly tougher HR rep. Grab the chair immediately, throw it at the cluster of three, then clean up the survivors with light attacks while stamina regenerates. Do not spend your special move here — the first three floors only have trash mobs, and your ultimate will recharge long before the first real challenge.
Floor 2 introduces the break-room mini-event. You can ignore the coffee machine for the speed boost, but always crack open the vending machine and grab the energy drink — it's a free 10% damage buff for the next two floors. The energy drink is one of the most efficient early pickups in the game because it stacks with your archetype passive, letting you two-shot elites that should take four hits.
Floor 3 ends with your first Elite Clerk, a beige-shirted office drone with a clipboard who blocks light attacks and counter-attacks after every dodge. The counter pattern is forgiving: bait one swing, dodge, punish with a heavy attack to the back, then chain two light attacks while stamina refills. If you lose more than 30% HP here, restart the run — the floors ahead will punish that deficit hard.
Combat Tips: Building Your First Winning Playstyle
The Stick It to the stickman combat tips that work at floor 5 are not the tips that work at floor 15. The trick is layering skills in the right order: learn the loop, then specialize. New players who try to min-max builds before understanding the combat flow usually burn out by floor 6 and post on the official Free Lives Discord asking why nothing is working.
The Three Combat Archetypes Worth Knowing First
Out of the 9+ archetypes, three are beginner-friendly because they forgive the most mistakes. Caffeine Addict chains fast light attacks and has a passive that regens stamina on coffee pickups, which is the easiest perk economy to manage. Ego Maniac is the hyper-armor bruiser who shrugs off flinches and headbutts through enemy lines, perfect for players who hate dodging. Intern is the unlockable starter that focuses on grab-based environmental kills — great for players who like the comedic ragdoll chaos.
| Archetype | Playstyle | Strength | Weakness | Beginner Friendliness |
|---|---|---|---|---|
| Caffeine Addict | Fast rushdown, stamina sustain | Mobile, high combo ceiling | Squishy, punished if caught | High |
| Ego Maniac | Tanky headbutt brawler | Hyper-armor trades, no flinches | Slow, big hurtbox | Medium |
| Intern | Grab & throw specialist | Environmental kills, comedic value | Weak neutral game | High |
| Middle Manager | Balanced archetype | All-rounder, safe tools | No standout strength | Very High |
| Coffee Bot | Ranged coffee blasts | Safe poke, area control | Useless in melee range | Low |
The Dodge Timing Trick Most Beginners Miss
Almost every enemy telegraph lasts exactly 0.4 seconds before the swing connects. Dodging on reaction feels right but always gets you clipped because of input lag. The trick is to dodge on the animation start of the enemy, not on the moment you see the swing. After three or four encounters, your brain starts predicting the timing automatically.
Equally important: dodging toward the enemy is safer than dodging away. Dodging away opens up distance for a second attack you cannot punish; dodging toward the enemy puts you inside their recovery frames, where a single heavy attack deletes them. Combine that with the grab input, and you can pick up a stunned enemy and throw them into a second enemy for a free double kill — the cleanest way to build momentum on crowded floors.
| Combat Mistake | Why It Fails | The Fix |
|---|---|---|
| Dodging backward on every swing | Opens distance, no punish window | Dodge into the swing, punish the recovery |
| Burning the special on trash | Wastes the map-clearing potential | Hold for elite spawns and boss intros |
| Ignoring the grab button | Leaves props on the floor unused | Always grab a chair or stapler on entry |
| Standing still to block | Stamina drains, you still take chip | Block only as a last resort, dodge instead |
| Reusing the same combo string | Predictable, enemies start countering | Mix light-light-heavy with grab finishers |
Perks, Upgrades, and Tier 2 Evolutions
The upgrade system is where most beginners stall because they don't understand the three-tier evolution mechanic. Every base move, when picked twice, evolves into a stronger version. Pick it a third time and you get the Tier 3 version, which often changes the move entirely — a basic kick becomes a flying kick that launches across the room, for example. Building a coherent set around two or three Tier 3 evolutions is what separates a floor 10 clear from a floor 4 clear.
Prioritizing Your First Three Evolutions
Community data from the r/Stickittothestickman subreddit consistently points to three Tier 3 evolutions as the safest early investments. Tier 3 Chainsaw Slash is a wide horizontal move that ragdolls anything in front of you, great for crowd control. Tier 3 Flying Kick is a long-range launcher that crosses half a room, perfect for chasing down runners. Tier 3 Spin Attack is the panic-button move that buys you space when surrounded.
What you should avoid is dumping evolution points into ranged moves like staplers or coffee blasters. Ranged moves are fun and powerful at high archetype levels, but they require perks that you won't have until at least the third meta-progression reset. Save the ranged evolutions for your second or third build once you have the supporting perks.
| Tier 3 Evolution | Source Move | Trigger | Best Synergy |
|---|---|---|---|
| Chainsaw Slash | Horizontal swipe | Pick Chainsaw twice | Crowd control on floors 5-9 |
| Flying Kick | Standard kick | Pick Kick twice | Ranged punishes, runner catching |
| Spin Attack | 360° turn | Pick Turn twice | Panic clear, surrounded scenarios |
| Coffee Overdrive | Light attack chain | Pick Light twice + Coffee Addict | Archetype-locked burst window |
| Mail Bomb | Throw | Pick Throw twice | Environmental kill on boss intros |
Reading the Perk Choices Each Floor
Every cleared floor offers a choice of three perks. New players tend to grab the highest-damage option or the perk with the coolest name. The smarter play is to read the perk category and stack it with your current build. Damage perks are best when your build already has high attack speed; defensive perks are best when you are one-shot from dying; utility perks are best when you have nothing else.
A useful mental model is the Three Bucket Rule: sort every perk into Offense, Defense, or Utility, and aim for a 2:1:1 ratio across your build. Pure offense builds feel amazing until floor 7, where a single hit deletes you. Pure defense builds survive but never clear the timer-based boss floors. The 2:1:1 ratio keeps both sides honest.
| Bucket | Example Perks | Stack Until | Diminishing Returns |
|---|---|---|---|
| Offense | +Damage, +Attack Speed, Crit Chance | 2 perks | Beyond 2, replace with archetype passives |
| Defense | +HP, +Armor, Dodge Distance | 1 perk | Second defensive perk usually wasted |
| Utility | Coffee Duration, Grab Range, Stamina Refund | 1 perk | Build-defining; do not skip |
Surviving the Boss Floors and Beyond
Once you hit the first boss floor, the game changes. Trash mobs disappear, the arena locks in, and the boss has a multi-phase attack pattern you need to learn. Beginners who never practiced boss telegraphs before this point hit a wall, but the practice is simpler than it looks: every boss has three core attacks, and dodging all three on reaction is enough to clear the first phase.
The Three Beginner Bosses You Will Face
The Head of Sanitation is a mop-wielding middle manager with sweeping horizontal swings and a bucket-throw projectile. He is the easiest boss because his attacks are slow and heavily telegraphed. Bait the horizontal swing, dodge through it, punish with two light attacks and a heavy. The bucket throw is a free punish window because he stands still for nearly a full second after throwing.
The Chief Security Officer is a taser-wielding enforcer with a thrust combo and a long-range taser zap. The thrust is a 0.3-second animation and is the move that punishes new players the hardest. The trick is to read his shoulder — when his taser arm pulls back, dodge immediately, because the thrust connects faster than any other boss attack. The zap is a long-range poke that you can sidestep with a single horizontal dodge.
The Founder, the final CEO boss, is a helicopter-riding executive who rains briefcase bombs from above. According to community guides, this is the secret-ending trigger fight if you want the platinum trophy, so plan accordingly. The trick is to stay near the pillars on the arena edge and only punish during the landing phase, when the Founder is grounded and vulnerable.
| Boss | Phase 1 Pattern | Phase 2 Pattern | Recommended Counter |
|---|---|---|---|
| Head of Sanitation | Horizontal sweep, bucket throw | Adds mop charge, faster cadence | Dodge through sweep, punish bucket |
| Chief Security Officer | Taser thrust, zap poke | Spin attack, summon guards | Read shoulder, sidestep the zap |
| The Founder (CEO) | Briefcase bombs, dive attack | Helicopter strafing, ground pounds | Stay near pillars, punish only when grounded |
Meta-Progression Between Runs
The meta-progression system rewards consistency, not single-run heroics. Each promotion tier unlocks a new archetype, a new tier of perks, and a small cosmetic slot. Players who clear the same five floors consistently for a week tend to out-progress players who chase the boss floors and die at floor 12 every run. The smart grind is to repeat the floors you can clear cleanly, spend your Career Points on Stamina Recovery and Health Regen, and only push the boss floors once your build is ready.
If you want a deeper look at the late-game climb, the Stick It to the Stickman promotion guide breaks down the elevator clearance system and Billionaire Bunker mode pathing in much more detail. Pair this guide with that one and you have a complete early-to-mid-game plan, from intern to middle management and beyond.
Frequently Asked Questions
How do I unlock more archetypes in Stick It to the Stickman?
You unlock new archetypes by hitting promotion tiers on the corporate ladder. Each tier (Intern, Clerk, Supervisor, Manager, and beyond) unlocks one new archetype with a unique moveset and passive ability. You also need to spend Career Points in the meta-progression shop, which you earn from clearing floors with high momentum. The full list of archetypes is documented on the official Steam page if you want to plan your unlock order.
What is the best starter archetype for solo beginners?
The Caffeine Addict is widely considered the best solo starter because the passive stamina regeneration on coffee pickups lets you chain more combos per fight. If you prefer tanky brawlers, the Ego Maniac is the second-best pick because hyper-armor trades shrug off most early-game damage. The Intern archetype is the third recommendation for players who enjoy grab-based environmental kills.
How long does a typical Corporate Ladder run take?
A clean run from intern to CEO usually takes between 35 and 55 minutes, depending on your archetype, perk choices, and boss floor time. Beginners should expect runs closer to the 60-minute mark while they learn the boss telegraphs. Speedrunners can push the same route down to 18-22 minutes by skipping break rooms and stacking momentum perks aggressively.
Can I play Stick It to the Stickman in local co-op?
Yes, the game supports local couch co-op for up to four players, which makes the boss floors dramatically easier because aggro splits across the team. Remote play is also supported, so you can play online with friends via Steam Remote Play Together. If you want a full setup walkthrough, the couch co-op and remote play guide covers controller pairing, screen layout, and lobby management.
What should I do if I keep dying on floor 7?
Floor 7 is the first major difficulty spike, and the most common cause of death is under-stacked perks from the first six floors. Restart the run and focus on grabbing every coffee buff, stacking a 2:1:1 Offense/Defense/Utility perk ratio, and upgrading at least one move to Tier 2 before the floor 7 elevator. If you are still struggling, the boss and survival tips guide covers late-game survival in more depth.