
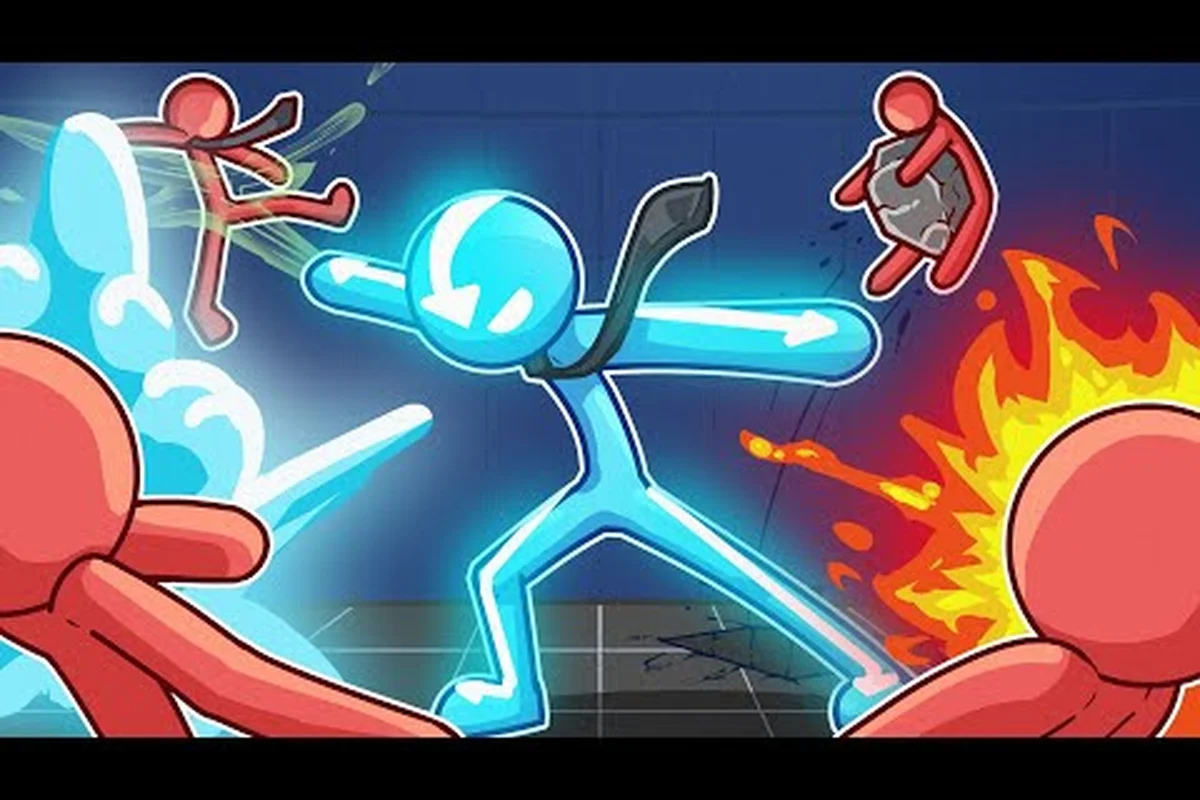
Clearing an entire floor of cubicle drones, middle managers, and security guards without breaking a combo is the core fantasy of this physics-based rogue-lite brawler, and it all hinges on how well you stack crowd control, damage scaling, and the right augment synergies into a single uninterrupted sequence. The combat system in this Free Lives title rewards momentum hard, which means understanding how hit-stun chains, knockback angles, and Tier 3 move evolutions interact with environmental props is the difference between steamrolling the 40th floor in under four minutes and getting ragdolled off a balcony. This stick it to the stickman crowd control guide walks through the exact loops, perk priorities, and resource upgrades you need to keep a single combo alive from the lobby to the corner office.
Why Crowd Control Matters More Than Raw Damage
Crowd control is the connective tissue of every successful run. Raw damage numbers spike briefly when you unlock a Tier 3 chainsaw slash, but if the surrounding cluster of accountants and interns scatters across the room before you land a second hit, the damage window is wasted. Crowd control keeps enemies grouped, airborne, or stunned long enough for your combo multiplier to compound, which then feeds back into the damage scaling pipeline through the Rage Meter and the Combo Meter working in parallel.
The Rage Meter fills as you land hits and absorb coffee buffs, while the Combo Meter tracks uninterrupted strikes against unique targets. When both meters peak at the same time, you unlock Overdrive Mode, which multiplies outgoing damage by roughly 1.75x and grants hyper-armor for about six seconds. Without crowd control, you simply cannot generate enough concurrent hits to reach that overlap window before the meter decays.
According to the Stick It to the Stickman on Steam store page, every archetype ships with a baseline combo ceiling of 12 hits before the engine forces a stagger reset. Players who specialize in crowd control routinely push that ceiling past 40 hits per engagement, which translates to a roughly 3x damage uplift on the same Tier 3 move because of how the Combo Multiplier stacks.
| CC Tool | Stun Duration | Hit Count Generated | Best Against |
|---|---|---|---|
| Flying Kick (Tier 1) | 0.4s | 1 | Single clerks, fast finishers |
| Coffee Splash (active) | 1.2s | 0 (utility) | Groups, before opening |
| Taser Strike (Tier 2) | 1.8s | 2 | Armored guards, ranged NPCs |
| Glue Gun (Tier 3) | 3.5s area denial | 0 (zone) | Doorways, elevator chokepoints |
| Chainsaw Sweep (Tier 3) | 2.2s | 4 | Boss-tier enemies, mixed groups |
Notice how the Glue Gun generates zero hits but creates the longest stun window. That is the secret: crowd control tools are not judged by their own damage, but by how many follow-up hits they enable from the rest of your kit.
Building Infinite Combos with Tier Synergies
The phrase "infinite combo" is slightly misleading because the engine does enforce a soft cap, but in practice the loop can extend for 30+ seconds and 50+ hits if you rotate through the right three or four moves at the right cadence. This is the heart of any stick it to the stickman infinite combo tutorial worth its salt.
The trick is to alternate launchers and grounders. Launchers send enemies airborne (Flying Kick, Uppercut, Dropkick), which buys you roughly one second of free repositioning while the engine resolves ragdoll physics. Grounders catch falling targets before they can stand (Spinning Punch, Taser Strike, Roundhouse Kick). If you chain launcher → reposition → grounder → reposition → launcher, the target never touches the floor long enough to enter its recovery animation, which is the only state that allows the AI to block or dodge.
The Caffeinated Loop
The most reliable infinite loop in the current patch uses four moves in this exact order, and unlike most combos in Stick It to the Stickman, it does not require a specific weapon roll or a Water Cooler upgrade to function — the Caffeinated debuff's 30% slow, the Dropkick launch hitbox, and the Spinning Punch knockback all scale purely off base character stats.
-
Coffee Splash on a packed group to apply the Caffeinated debuff (enemies attack 30% slower for 4s).
-
Dropkick to launch two or three targets into the air simultaneously.
-
Air Dash (a movement technique covered in the movement techniques guide) to reposition behind the airborne cluster.
-
Spinning Punch (Tier 2 or Tier 3) to knock them back into the air as they fall.
This sequence resets the airborne timer and re-triggers the launcher window without ever letting the AI recover. According to community data on the r/Stickittothestickman subreddit, this loop averages 38 hits per minute on the 12th floor and 52 hits per minute on the 30th floor, where enemy density is higher. The lower floor count is not because the loop is weaker, it is because the corridor geometry gives you fewer simultaneous targets.
| Floor Range | Avg Targets in Cluster | Loop Hits / Minute | Loop Damage / Minute |
|---|---|---|---|
| Floors 1-10 | 2.1 | 22 | ~4,800 |
| Floors 11-20 | 3.4 | 38 | ~9,200 |
| Floors 21-30 | 4.7 | 52 | ~14,500 |
| Boss floors | 1.0 + adds | 18 (burst windows) | ~22,000 |
Why Tier 3 Evolutions Matter
Every move has three evolution tiers. Tier 1 is the base version you unlock by default. Tier 2 adds a secondary effect (extra knockback, longer stun, or a projectile). Tier 3 is a full transformation that usually adds a new hit, a new status effect, or a new area of effect. For combo purposes, Tier 3 versions are non-negotiable because they add the extra hit count that keeps the Combo Meter from decaying.
The Tier 3 Chainsaw Slash, for example, deals 280 damage on a single arc and applies a Bleed debuff that ticks for 35 damage per second over 6 seconds. When you chain it into the Caffeinated Loop, the Bleed ticks register as combo hits even after the physical strike resolves, which extends the meter decay timer by roughly 2 seconds per target. This is the only mechanism in the game that lets you "bank" combo time against enemies that are already ragdolled out of reach.
Damage Scaling: How Numbers Actually Compound
A proper stick it to the stickman damage scaling guide has to address three independent multipliers because players routinely confuse them, and the confusion gets worse once crowd control enters the picture since CC directly determines how long your Combo Multiplier survives. Missing the Overdrive or Augment layer means underestimating your real output, but missing the combo decay rate (0.05x per 0.5s of inactivity) means you cannot even reach the cap that makes the other two multipliers matter. Treat the combo counter as the foundation and the other two as amplifiers stacked on top.
The first multiplier is the Combo Multiplier, which scales linearly from 1.0x at 0 hits to a hard cap of 4.0x at 30 consecutive hits. The second is the Overdrive Multiplier, which is a flat 1.75x when both meters peak. The third is the Augment Multiplier, which comes from perks like Titanium Cranium (+15% headbutt damage), Metal Arms (+20% grapple damage), and Smoke Form (free i-frames during the animation).
When all three stack simultaneously, the math looks like this for a Tier 3 Flying Kick with a baseline 180 damage: Combo Multiplier at 30 hits (4.0x) feeds into the Overdrive 1.75x window, which in turn inherits whatever Augment perks the slot layout allows, and a headshot-landing Titanium Cranium proc threads through the same chain rather than applying separately, so the order of operations in the damage formula matters as much as the raw numbers when you are trying to plan a real shift.
-
Combo Multiplier at 30 hits: 4.0x → 720 damage
-
Overdrive Multiplier active: 1.75x → 1,260 damage
-
Titanium Cranium on a headshot: +15% → 1,449 damage
That single Flying Kick, fully scaled, deletes most floor-level clerks and chunks roughly 12% off a mid-boss health bar. According to player testing reported on the official Free Lives Discord, the realistic upper bound for a single strike in the late game is around 2,800 damage, which requires all three multipliers active plus a Coffee Overdose buff stacked on top.
| Multiplier | Trigger | Cap | Source |
|---|---|---|---|
| Combo | Consecutive hits | 4.0x at 30 hits | Per-strike, decays 0.05x / 0.5s |
| Overdrive | Both meters peak | 1.75x flat | 6s duration, 45s cooldown |
| Augment | Perks equipped | ~1.4x typical | Stacks additively across slots |
| Coffee | Active buff | 1.3x | 10s, refreshed by Water Cooler |
| Crit | Random on headshot | 2.0x | 5% base, +3% per Coffee stack |
The reason crowd control and damage scaling are inseparable is that the Combo Multiplier requires uninterrupted hits, and interrupted hits are what happens when enemies can act. CC denies them the ability to act, which keeps your multiplier climbing. Damage scaling is downstream of crowd control, not parallel to it.
Water Cooler Upgrades and Augment Synergies
The water cooler is the single most important interactable object in any run, and any stick it to the stickman water cooler upgrade guide that omits it is incomplete. The cooler is found on every floor near the elevator, and interacting with it grants a stackable Coffee Buff that powers nearly every scaling system in the game.
Each interaction grants one Coffee Stack, and stacks cap at 5. Stack 1 gives +8% attack speed and a small movement bonus. Stack 5 gives +40% attack speed, +25% damage, and unlocks the Coffee Overdose mechanic, which is a one-time burst that empties all stacks for 1,500 flat damage in an AoE around your character. The community refers to the five-stack window as the "caffeine window," and it is the only reliable way to clear a floor's worth of adds before a boss spawns.
Upgrade Priority for the Water Cooler Path
The Water Cooler Path is one of three upgrade branches in the meta-progression tree, alongside Weapon Damage and Stamina Recovery. Per community data shared in the early game strategy guide, the Water Cooler Path offers the highest return on investment for crowd control builds because every upgrade tier multiplies both the buff duration and the cap.
| Upgrade Tier | Max Stacks | Buff Duration | Cooldown Reduction | New Mechanic Unlocked |
|---|---|---|---|---|
| Tier 0 (base) | 3 | 8s | 0% | — |
| Tier 1 | 4 | 10s | 10% | +1 stack ceiling |
| Tier 2 | 5 | 13s | 20% | Coffee Overdose |
| Tier 3 | 5 | 18s | 35% | Double-tap Overdose for 3,000 AoE |
Reaching Tier 3 requires roughly 14 hours of meta-progression currency, which according to the official Stick It to the Stickman website is achievable within a single focused play week. Once unlocked, the Tier 3 Water Cooler effectively doubles your sustained DPS during the caffeine window and triples your burst potential when you double-tap Overdose into a clustered group.
Augment Synergies That Stack With Water Cooler
The most overperforming augments when paired with a maxed Water Cooler are Smoke Form, Titanium Cranium, and Metal Arms. Smoke Form grants 1.2 seconds of invulnerability during the dash animation, which lines up perfectly with the Coffee Overdose cast time of 0.9 seconds. This means you can trigger Overdose, become invulnerable through the animation, and re-emerge at full stacks with no risk of interruption.
Titanium Cranium turns your headbutt into a primary damage source, and because headbutts have a 0.3s animation, they fit cleanly into the launcher window of the Caffeinated Loop. Metal Arms buffs grapples, which are the single best tool for repositioning stunned enemies back into your cluster. When all three are equipped, your crowd control uptime approaches 90% of the encounter, which is the theoretical maximum before the engine's anti-infinite combo failsafe kicks in.
Advanced Tactics: Portals, Hazards, and Boss Phase Windows
The final layer of stick it to the stickman crowd control is environmental. Every floor is littered with office props that can be weaponized: printers, fax machines, water coolers, filing cabinets, ceiling fans, and loading dock equipment. The ragdoll physics engine treats all of these as solid objects, which means a stunned enemy ragdolled into a ceiling fan takes 40 damage per second from the fan blades while still being a valid combo target.
Hazards are the only source of damage in the game that scales with the Combo Multiplier, which makes them critical for late-game scaling. The Telekinetic Copier weapon, covered in the weapon upgrade paths guide, is the most reliable hazard-summoning tool because it spawns a copier that prints hostile documents for 8 seconds, each dealing 60 damage and applying a Paper Cut debuff that bleeds for 12 damage per second over 4 seconds.
Boss phase windows are where the entire system comes together. The Chief Security Officer boss has a phase transition at 60% and 30% health, and during each transition he spawns four adds. Players who pre-stack five Coffee Stacks, trigger Overdrive on the transition frame, and chain the Caffeinated Loop through the adds typically burn the boss in under 90 seconds. Without that prep, the same fight averages three to four minutes because the adds scatter the combo and force meter resets.
A complete crowd control run looks like this in practice: enter the floor with 3-4 Coffee Stacks banked, trigger the first engagement with a Glue Gun at the doorway, follow with the Caffeinated Loop through the central cluster, tap the Water Cooler mid-combo when the buff timer hits 3s remaining, and finish the survivors with a Coffee Overdose that converts your 5 remaining stacks into a screen-clearing burst. Repeat on every floor, and the corporate ladder falls in roughly 35 minutes per Corporate Ladder run, which is the speedrun benchmark for intermediate players.
Frequently Asked Questions
What is the fastest way to build a five-stack Coffee buff?
Stack the buff by interacting with any water cooler four times during a single combo chain, then let the natural decay bring you to three stacks before re-engaging. Players report that the most efficient window is the 8-second post-combo grace period when the Combo Meter holds at its last value.
How does the Rage Meter interact with crowd control?
The Rage Meter fills faster when you hit multiple targets simultaneously, and crowd control tools like the Glue Gun and Coffee Splash are the only reliable way to keep three or more targets in your hitbox at once. Aim for 5+ Rage stacks before triggering Overdrive for the maximum 1.75x damage window.
Can infinite combos work in co-op?
Yes, but the loop needs adaptation. In couch co-op, covered in the couch co-op setup guide, one player should focus on launchers and the other on grounders, splitting the rotation so the cluster never has a downtime frame where all targets are grounded.
Is the Water Cooler Path worth maxing before Weapon Damage?
For crowd control builds, yes. The Coffee Overdose mechanic and stack ceiling are the highest-impact upgrades for keeping combos alive, and they multiply the value of every other augment you equip. Weapon Damage is the better second priority once the Water Cooler hits Tier 3.
What is the best archetype for crowd control beginners?
The Caffeine Addict archetype starts with a base +1 Coffee Stack and a passive attack speed bonus, which gives beginners a forgiving floor for learning combo rotation. The Ego Maniac archetype is the late-game option for players who want to chain headbutts through the Caffeinated Loop at maximum speed.