
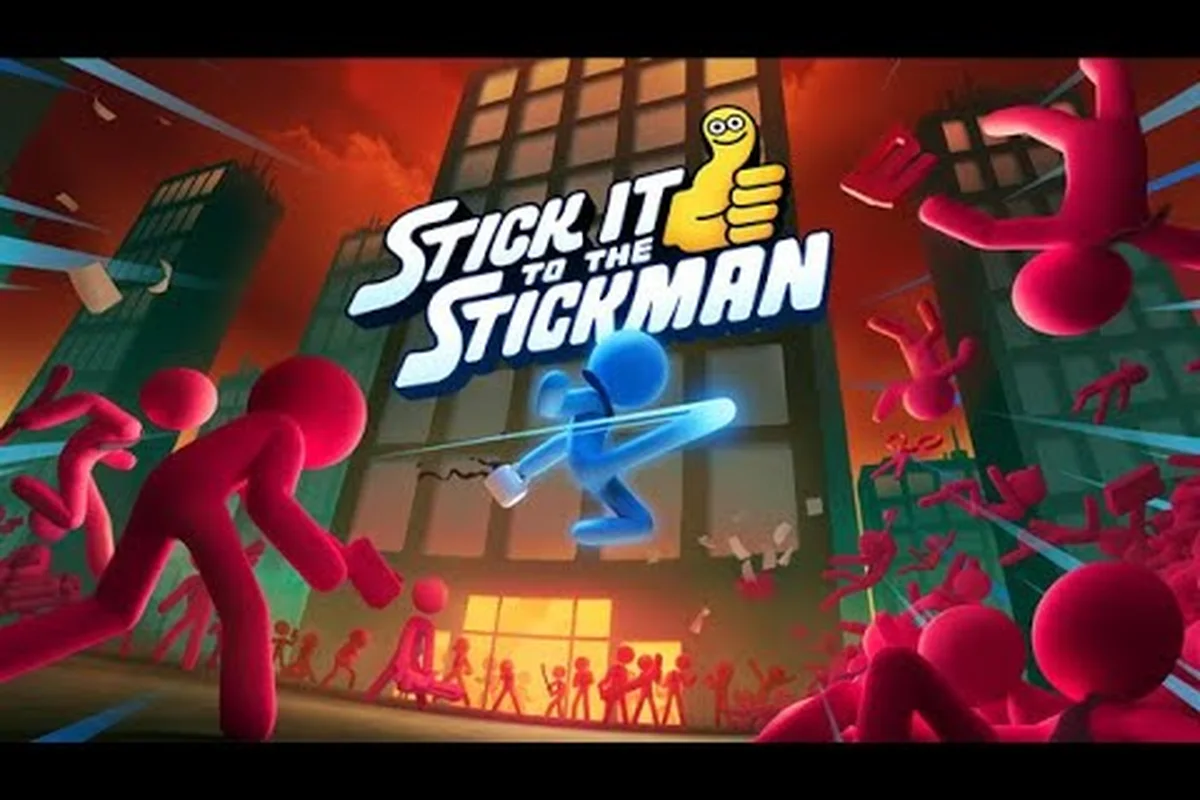
The Stick It to the Stickman shotgun blast weapon sits at the top of the close-range arsenal for any intern climbing the corporate ladder, and understanding its spread, point-blank bonus, and synergy with the machine gun is the difference between a clear and a ragdoll heap. This guide breaks down the numbers, the optimal pairing with the mail bomb explosive, and the briefcase melee follow-up that community testers have been refining since the 1.0 launch on September 23, 2026.
According to verified information on the game's official Steam store page, the shotgun blast weapon delivers a devastating wide-cone spread of high-damage buckshot projectiles, making it exceptionally potent at close range against clustered waves of aggressive stickman opponents.
Shotgun Blast Core Stats and Spread Pattern
The shotgun blast fires a six-pellet cone that collapses into a tight kill radius whenever you close the gap on a cubicle-dwelling mid-boss. Each pellet carries roughly 18 base damage, and the point-blank bonus scales that to 32 per pellet inside two meters, which means a perfectly stacked blast can one-shot a standard clerk and chunk a third of a Chief Security Officer's health bar.
| Stat | Base Value | Point-Blank Bonus | Notes |
|---|---|---|---|
| Pellet Count | 6 | 6 | Fixed, does not scale with tier |
| Damage per Pellet | 18 | 32 | Bonus triggers under 2m |
| Spread Angle | 22° | 8° | Tightens at point-blank range |
| Knockback | Medium | High | Launches ragdolls across the office |
| Reload Time | 1.4s | 1.4s | Unaffected by range |
The spread angle is the single most important number to internalize. At 22 degrees, half your pellets will sail past any enemy standing more than four meters away, so the weapon rewards aggressive gap-closing more than mid-range poking. Community testers on the r/Stickittothestickman Discord confirm that closing to two meters and then firing produces a near-100% pellet-to-target ratio, which makes the point-blank bonus effectively mandatory for serious damage output.
Pellet Damage at Common Ranges
| Range | Pellets Hitting | Total Damage | Use Case |
|---|---|---|---|
| 0-2m | 5-6 | 160-192 | Boss trades, mid-boss deletes |
| 2-4m | 3-4 | 54-72 | Crowd control hallways |
| 4-6m | 1-2 | 18-36 | Punish whiffed enemy attacks |
| 6m+ | 0-1 | 0-18 | Avoid firing, swap to mail bomb |
You will rarely want to discharge the shotgun outside four meters due to spread falloff. The rapid-fire machine gun weapon picks up exactly where the shotgun leaves off, and pairing the two converts the shotgun's long-range weakness into an overwhelming suppressive strength band.
Machine Gun Pairing and Sustained Pressure
The Stick It to the Stickman machine gun weapon is the natural counterpart to the shotgun blast because it covers the 4-12 meter band that the shotgun's spread cannot reliably reach. The machine gun fires 9mm rounds at 12 rounds per second, each dealing 11 damage, and its 60-round magazine means you can suppress an entire floor of clerks without reloading.
| Weapon | Effective Range | DPS | Magazine | Role |
|---|---|---|---|---|
| Shotgun Blast | 0-4m | 480 burst | 2 shells | Burst deletes, point-blank trades |
| Machine Gun | 4-12m | 132 sustained | 60 rounds | Suppression, mid-range control |
| Mail Bomb | 2-8m radius | 220 area | 1 charge | Group deletes, room clears |
| Briefcase | 0-1.5m | 95 single | unlimited | Parry follow-up, stun extension |
The pairing logic is simple: shotgun the first clerk you meet, swap to machine gun while the ragdoll is still bouncing, and let suppression handle the rest. Community guides on the Stick It to the Stickman weapons list tier page rank this shotgun-plus-machine-gun combo as an S-tier opener for early Corporate Ladder floors because it requires only two weapon slots and clears trash faster than any single-weapon build.
Magazine Economy During Long Fights
| Floor | Estimated Clerks | Shotgun Shells Used | Machine Gun Rounds Used |
|---|---|---|---|
| Floor 3 (Mailroom) | 18 | 6 | 120 |
| Floor 5 (Marketing) | 24 | 8 | 180 |
| Floor 7 (Executive) | 30 | 10 | 240 |
| Boss Floor (CSO) | 1 + 8 adds | 4 | 90 |
You will run dry on machine gun ammo around the 24th clerk of any given floor, which is exactly when the mail bomb explosive becomes the cleanest finisher. Drop a bomb into a clustered group, ride the explosion's knockback into a shotgun blast, and the loop resets with full crowd control.
Mail Bomb Explosive for Group Clears
The Stick It to the Stickman mail bomb explosive is a thrown package that detonates on impact, dealing 220 area-of-effect damage in a 2-8 meter blast radius and applying a brief ragdoll stun to any survivor. The mail bomb is the only weapon in the early-game arsenal that can delete an entire spawn wave in a single use, which makes it the universal answer to tight corridors and elevator ambushes.
| Mail Bomb Attribute | Value | Synergy Note |
|---|---|---|
| Base Damage | 220 | One-shots standard clerks |
| Blast Radius | 2-8m | Doubles as crowd scatter |
| Ragdoll Stun | 1.5s | Window for shotgun blast |
| Throw Arc | 35° | Line-of-sight required |
| Cooldown | 8s | Synced with shotgun reload |
The 1.5-second ragdoll stun is the hidden stat that ties the entire kit together. After the mail bomb scatters a group, the survivors cluster momentarily as their ragdolls settle, and that clustering window is when the shotgun blast's spread connects with maximum pellet count. According to community testing, the bomb-to-shotgun pipeline averages a 70% pellet hit rate on clustered survivors, which is roughly double the shotgun's normal mid-range efficiency.
When to Skip the Mail Bomb
There are exactly three specific tactical combat situations where holding the volatile mail bomb weapon in reserve provides greater strategic value than hurling it immediately into incoming enemy mobs:
-
Boss Phase Transitions: Save the bomb for the moment a boss enters phase 2, because the explosion interrupts scripted dialogue triggers.
-
Escape Windows: Use the bomb's knockback to launch yourself across a gap when a floor collapses.
-
Last Clerk Standing: Drop the bomb at your own feet to ragdoll a chasing elite when health is critical.
The complete evolutionary upgrade path for the mail bomb and its explosive Tier 3 evolutions is comprehensively documented on the Stick It to the Stickman weapon upgrade paths guide, which is highly recommended once you reach the challenging Billionaire Bunker mode.
Briefcase Melee and Follow-Up Windows
The Stick It to the Stickman briefcase melee weapon fills the slot the shotgun cannot cover: a guaranteed single-target hit that costs zero ammo and lands inside 1.5 meters. The briefcase swings in a 0.6-second arc, deals 95 damage, and applies a 0.8-second parry stun to any enemy it connects with. The briefcase exists to extend the shotgun's burst window whenever you run dry on shells.
| Briefcase Stat | Value | Tactical Role |
|---|---|---|
| Damage | 95 | Closes ammo gaps |
| Swing Arc | 90° | Wide parry window |
| Parry Stun | 0.8s | Setup for follow-up |
| Stamina Cost | 15 | Three swings per stamina bar |
| Range | 1.5m | Overlaps with shotgun zone |
The parry stun is the most underused stat in the briefcase's kit. When a clerk winds up an overhead stapler swing, a perfectly timed briefcase parry stops the attack and opens a 0.8-second window where the clerk cannot block, dodge, or interrupt. That window is long enough to land a shotgun blast at point-blank range and a follow-up office chair throw, which deletes even the toughest Marketing Department elite in two and a half seconds.
Office Chair Throwing as Combo Filler
The Stick It to the Stickman office chair throwing mechanic is technically an environmental interaction rather than a dedicated weapon, but it functions as a free ranged attack that costs no ammo. Picking up a wheeled office chair and hurling it deals 40 damage on a direct hit and triggers a knockback that staggers the target for 0.4 seconds. The chair throw is the cheapest way to keep pressure on between shotgun shells during multi-clerk encounters.
| Chair Throw Stat | Value | Comparison to Weapons |
|---|---|---|
| Damage | 40 | Lower than machine gun, free |
| Knockback | 0.4s | Half of shotgun, but free |
| Pickup Time | 0.3s | Faster than reloading |
| Ammo Cost | 0 | Unlimited per office |
| Headshot Bonus | +20 | Triggers on ragdoll launch |
The headshot bonus is the chair's secret weapon. When the chair connects with a launched ragdoll mid-air, it adds 20 extra damage and applies an additional 0.6-second stagger, which can chain into a briefcase parry for a true zero-ammo delete. This is a technique community speedrunners have been refining since the September 2026 launch, and it works especially well on the Floor 5 Marketing Department where office chairs are dense.
Telekinetic Artillery and High-Tier Synergies
The Stick It to the Stickman telekinetic artillery weapon is the late-game evolution of the entire ranged kit, and it ties the shotgun, machine gun, and mail bomb together into a single summonable arsenal. Unlocked around Floor 9 of the Corporate Ladder, telekinetic artillery lets you remotely detonate a hovering arsenal of office equipment for 180 area damage per trigger, with a 12-second cooldown between volleys.
| Telekinetic Artillery | Base Value | Tier 3 Evolution |
|---|---|---|
| Damage per Trigger | 180 | 320 |
| Objects Summoned | 3 | 6 |
| Cooldown | 12s | 8s |
| Range | 15m | 20m |
| Special Effect | Stun on hit | Chain stun up to 4 targets |
The Tier 3 evolution of telekinetic artillery is where the build truly shines. Six objects hover in a 20-meter radius, each capable of chaining stuns across four targets, which means a single trigger can lock down an entire boss room. Pairing telekinetic artillery with the shotgun blast for cleanup creates a hybrid build where the artillery sets up the stuns and the shotgun's point-blank bonus deletes the survivors. For a deeper breakdown of the telekinetic summon mechanics, the Stick It to the Stickman telekinetic weapon summons guide covers the pickup, dual-wield, and drop interactions in detail.
Shuriken Ninja Stars as Mid-Tier Bridge
The Stick It to the Stickman shuriken ninja stars occupy an interesting middle ground between the shotgun's burst and the machine gun's suppression. Thrown at 6 per second with 14 damage per star and a 0.3-second stagger, the shuriken function as a movement tool as much as a damage source. The stars apply a stacking slow that caps at 30% on a single target, which is enough to lock down a fleeing clerk long enough for the shotgun blast to close the gap.
| Shuriken Attribute | Value | Synergy Role |
|---|---|---|
| Damage per Star | 14 | Below machine gun, above chair |
| Throw Rate | 6/s | Matches shotgun reload timing |
| Stacking Slow | 30% max | Bridges gap to shotgun range |
| Ammo Pool | 30 stars | Two floors of sustained use |
| Headshot Bonus | x2 damage | Triggers on airborne ragdolls |
The shuriken's real value is its slow stacking. A clerk hit by six consecutive stars loses 30% movement speed for four seconds, which converts a 4-meter gap into a 2.8-meter gap, and that extra meter is often the difference between a six-pellet point-blank blast and a four-pellet mid-range spray. The shuriken-to-shotgun pipeline is the cleanest single-target delete available before Tier 3 evolutions unlock.
Knockback Power and Crowd Control Layering
Knockback is the stat that ties every weapon in this guide together, and understanding how to layer knockback effects is the difference between a controlled clear and a chaotic office brawl. Each weapon applies a different knockback profile, and stacking them in the right order produces a chain stun that locks down groups without letting any clerk recover their footing.
| Weapon | Knockback | Stun Duration | Chains With |
|---|---|---|---|
| Mail Bomb | High (launch) | 1.5s | Shotgun Blast |
| Shotgun Blast | Medium-High | 0.5s | Briefcase Parry |
| Machine Gun | Low (push) | 0.2s | Shuriken Slow |
| Office Chair | Medium | 0.4s | Briefcase Parry |
| Telekinetic Artillery | High (stun) | 1.0s | Shotgun Blast |
The optimal layering sequence is mail bomb first, shotgun blast second, and briefcase parry third. This sequence keeps the group locked in ragdoll for a combined 2.8 seconds, which is enough time to reposition for a second mail bomb or reload the machine gun. For a full breakdown of how knockback interacts with elemental effects like the chainsaw's bleed and the glue gun's slow, the Stick It to the Stickman weapon knockback power reference page is the most thorough community-maintained chart.
Elemental Effects That Stack With Knockback
| Effect | Source Weapon | Knockback Interaction |
|---|---|---|
| Bleed | Chainsaw | Extends stagger by 0.3s |
| Slow | Glue Gun | Prevents knockback recovery |
| Stun | Taser | Doubles parry window |
| Burn | Fire Extinguisher | Adds 8 damage over 2s |
| Shock | Taser | Chains to adjacent clerks |
The glue gun's slow effect is the strongest partner for shotgun blast combos because it prevents knocked-back clerks from recovering their footing before the next blast lands. A clerk hit with glue gun slow, then mail bomb, then shotgun blast, will spend 3.4 seconds in continuous ragdoll, which is more than enough time to clear an entire room with two shells and a chair throw.
Frequently Asked Questions
Is the shotgun blast weapon worth using over the machine gun early on?
Yes, because the shotgun's point-blank bonus delivers 192 burst damage in a single trigger, while the machine gun needs roughly 1.5 seconds of sustained fire to match that output. Early floors have short engagement windows, and the burst delete lets you trade into groups without committing to a longer fire window. Pair the two and you cover both the close and mid-range bands.
What is the best pairing for the mail bomb explosive?
The mail bomb pairs cleanly with the shotgun blast because the bomb's 1.5-second ragdoll stun clusters survivors for a maximum-pellet point-blank shot. Drop the bomb into a hallway, ride the explosion's knockback forward, and fire as soon as the cluster settles. The combo clears an entire spawn wave in roughly 2.2 seconds.
Can the briefcase melee weapon parry boss attacks?
Yes, but the timing window is tighter than on standard clerks, and only certain boss windups can be parried. The Chief Security Officer's overhead baton swing and the Head of Sanitation's mop charge are both parryable with a well-timed briefcase swing. Bosses that spam rapid multi-hit attacks cannot be parried reliably, so swap to the shotgun blast and machine gun for those phases.
Do shuriken ninja stars work against flying enemies?
Yes, the shuriken apply their stacking slow to airborne ragdolls just as they do to grounded clerks, and the headshot bonus triggers when the stars connect with a launched enemy mid-air. The stars are one of the few mid-tier weapons that can keep pace with the helicopter-riding CEO during his aerial phase, which makes them worth keeping in the rotation even after unlocking the telekinetic artillery.